Starlink Mount Dimensions: What You Need to Know
What’s the deal with Starlink mount sizes? If you’re putting up a Starlink dish, the right mount matters for a strong signal and safe setup.
Starlink has a few mount types, and they’re not all the same size. The dimensions tell you where your dish can fit and what space you need. They also show what tools and stuff you’ll want for putting it up.

Types of Starlink Mounts and Their Dimensions
SpaceX’s satellite internet service, Starlink mount dimensions are essential for many reasons, including stabilization, optimal signal reception, ease of installation, and perfect fit and fit. This is a thorough overview of the various Starlink mount types and their measurements.
- Starlink Standard Tripod Mount
Dimensions
- Height: 23 inches (58.42 cm).
- Leg Span: Approximately 24 inches (61 cm).
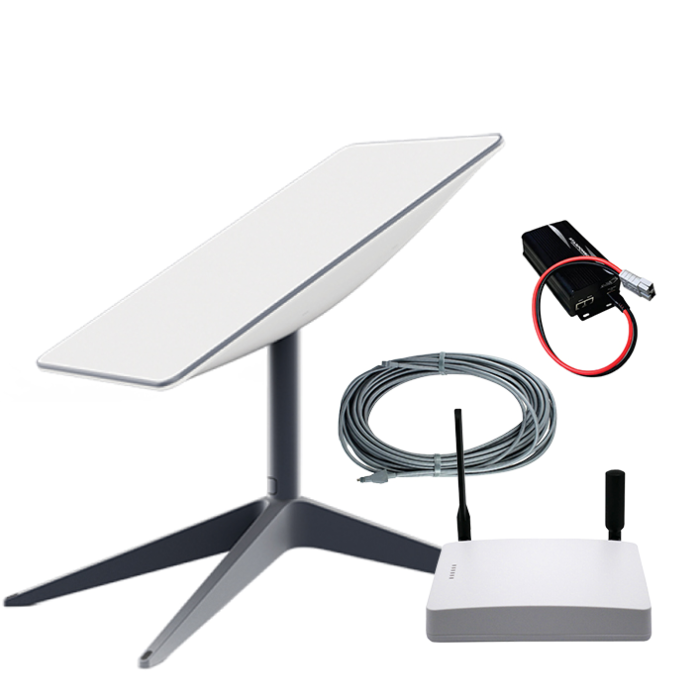
The standard tripod mount is included with the Starlink kit. It is designed for quick and easy setup, making it ideal for temporary or portable installations.
Applications
- Temporary installations.
- Initial setup and testing.
- Portable use.
- Starlink Pipe Adapter Mount
Dimensions
- Adapter Diameter: Fits poles with diameters from 1.5 inches (3.81 cm) to 2.5 inches (6.35 cm).
- Adapter Length: 12 inches (30.48 cm).
The pipe adapter mount allows the Starlink dish to be mounted on existing poles. This is useful for users with a pole or mast in place who want to utilize it for the Starlink dish.
Applications
- Permanent installations.
- Attaching to existing poles or pipes.
- Elevated installations.
3. Starlink J-Mount
Dimensions
- Mount Arm Length: 24 inches (60.96 cm).
- Mount Arm Diameter: 1.5 inches (3.81 cm).
- Base Width: 4 inches (10.16 cm).
The J-mount, commonly used for satellite dishes, is designed for mounting the Starlink dish on roofs or walls. It provides a sturdy and elevated position, which can help avoid obstructions.
Applications
- Roof or wall installations.
- Locations requiring elevation.
- Permanent installations.
4. Starlink Pivot Mount
Dimensions
- Pole Diameter: 1.5 inches (3.81 cm).
- Pole Height: 30 inches (76.2 cm).
The pivot mount enables the Starlink dish to be positioned and tilted at the ideal angle. This is particularly useful in areas where the dish needs to be frequently adjusted to avoid obstructions or improve signal quality.
Applications
- Areas with varying obstructions.
- Locations needing frequent adjustments.
- Flexible installation options.
5. Starlink Ground Pole Mount
Dimensions
- Pole Diameter: 1.5 inches (3.81 cm).
- Pole Height: 8 feet (243.84 cm) (adjustable).
Description
The ground pole mount is ideal for ground installations where elevation is necessary. Its height is adjustable, offering versatility for different environments and ensuring a clear line of sight to the sky.
Applications
- Ground installations.
- Elevated positions in open areas.
- Permanent and semi-permanent setups.
6. Starlink Ridgeline Mount
Dimensions
- Arm Length: 24 inches (60.96 cm).
- Arm Diameter: 1.5 inches (3.81 cm).
Description
The ridgeline mount is designed for installation on roof ridges, providing a high and stable position for the Starlink dish. It is useful for ensuring the dish is above potential obstructions like trees and buildings.
Applications
- Roof ridge installations.
- Ensuring high elevation.
- Permanent setups.
How to Choose the Right Mount
Factors to Consider
- Location: Determine where you plan to install the Starlink dish. Roof, wall, and ground installations require different mounts.
- Obstructions: Evaluate potential obstructions in your area. Elevated mounts can help avoid these issues.
- Permanence: Decide whether the installation is temporary or permanent. Temporary setups might benefit from the standard mount, while permanent ones require more stable solutions like the J-mount or ground pole mount.
- Adjustability: Consider if you need the flexibility to adjust the dish’s position frequently. The pivot mount offers the most flexibility.
- Stability: Ensure the mount offers stability for your setup, particularly in areas prone to wind or adverse weather conditions.
Installation Tips
- Stable Surface: Ensure the mount is installed on a stable and flat surface to prevent movement and signal disruption.
- Proper Tools: Use the appropriate tools and hardware for installation to secure the mount firmly.
- Clear Line of Sight: Install the dish in a location with a clear line of sight to the sky for optimal performance.

Scott is a husband, father, passionate writer and owner of homeautomationtalks.com and seniorgadgetguide.com. He loves to spend time in the garden, walking in the woods, cooking, is an avid gamer and most of all a tech enthusiast, which makes him the default tech support for his parents. 🙂


